Second Life Design

Second Life Design
See my Meshed Up Second Life

Wednesday, December 11, 2013

Second Life Mesh Design of Clothing Using Avastar, Blender and Zbrush Part III

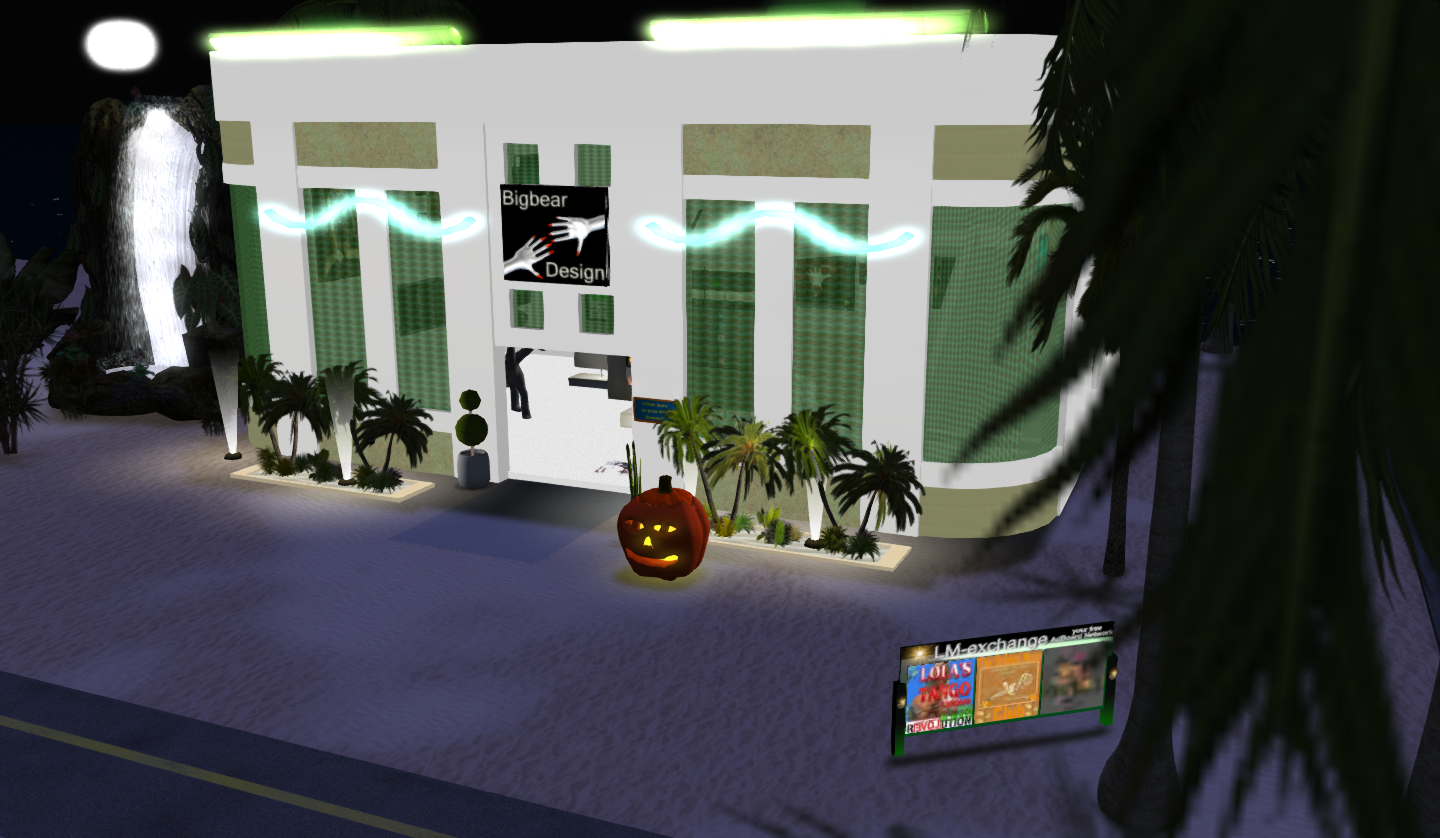
 Hello after a little break I am back and still working on the last piece of mesh clothing and I will have to tell everyone I had to take the break to research the mesh body parts and how to work with them also ...  My findings are that Mesh boobs and butts are and issue with mesh clothing. From use of alphas and the Second Life alpha glitches to the fact they are edited resized and changed all the time so there is no default for them what so ever .... This means you cannot really put the mesh over the mesh. I have some ideas for solutions yet they are in the future and I have a contract to build other items first before I can do this. Also in the last two weeks second life has released a new viewer update and this may have included support for the new bones and such yet I am nt suire of this yet, but as a builder and a designer this is going to change our work as well change our use of avastar till Gaia Cherry has a chance to update the plugin. Yet I am not going to stop sharing workflows, I am telling you this because some parts of the workflow may change slightly ... So where I left off I was getting ready to bake maps in zbrush for the normals .... which are the bump maps and then as well I did add a specular and a material map which will then be used as a layer in some of the textures I use for the bra. I also have starter another item for a male avatar and will make many more. One thing I did not mention and that is that all of this may need 3 or 4 deformer shapes for each piece of clothing and as well you also may need alpha maps that make the body parts invisible ... so all you pervs out there ... looking up the dress of a female avi she will appear invisible and you may not be able to see her underwear or anything just other inner working of the mesh.  I say this as in my testing of mesh that is the first obvious part when designing and fiddling with clothing. My store in world you will be able to see many parts of my work in progress and it is located here
http://maps.secondlife.com/secondlife/Tegueste/217/165/22
if you like my blogs and would like to show it feel free to purchase and item or hit up my Tip Jar for either Badabong Bigbear or Elliana Inkpen as every little bit helps. So I know this is a short post and there are no image examples though I am working on these mesh appliers and need to finish adding them to my previous works .... So I will leave you with that and a link explaining mesh body attachments ,ore fully.
http://secondlife-blogger-elliana-inkpen.blogspot.com/


Monday, December 2, 2013

Second Life Mesh Design of Clothing Using Avastar, Blender and Zbrush Part II


  Well here goes the continuation of my work flow with some more images / screen grabs of my work in Blender, Avastar and Zbrush used in the creation of mesh clothes in second life. So I was explaining the work flow I use in the creation of second life mesh clothing and this is really quite easy for the most part yet the item will change some here and there. My whole goal is to sculpt, paint and texture the 3d object or well 3d item of mesh clothing ... and do this mainly in zbrush and then after moving it to blender to create the uv maps then exporting it back to zbrush to create the textures and normal maps or the bump maps for use in second life. This is a process that will require you to be somewhat fluent in both Zbrush and in Blender. As well unless you have a working version that is able to run both gob and avastar ...   Mine will not pass the model correctly and this could be a bug created with the importers and the avastar Plugin not understanding what we want to do ... so I just will export and import as a .obj from blender and zbrush back and fourth .. then once I have the details done will use blender to export the clothing as I have to seeing that you cannot actually rig and animate the correct way in Zbrush. Now if it was a plain collada file with out and animation ... there is a plugin that will work to export these for zbrush but that will not store or transfer a rigged file containing animation information.  So now say we do not create any seams we will come up with a uv map that will be exported back into Zbrush with the Mesh Bra Object .... in fact it should be already included in the object file ...  the unwrap process took place in blender and can be seen below


Now the cool thing is that when I imported this to Blender from zbrush the first time it came over already correctly fitting the avastar avatar and as well in exact spot because I used and exported version of the model that I extracted the mesh from a exact version of my second life avatar shape. So I could decide that I want to make seems on this model rather then have it round like this ... it would not be that hard to texture the way it is but with seams it may be even easier, this is all in personal preference..... I will show you the UV map again in this post or the next after I added two seams ... but now I have again imported this into Zbrush after exporting just the bra from Avastar and Blender ... in order to just export the bra you will need to be in Object mode and have the Bra selected and then when you get the export box you will check the selected only box in the export window. So now lets import the object into zbrush again, and then at this point we need to add details. So first off if you are using a smooth brush be very careful about the edges since it is one sided ... the smooth brush will melt your model away in seconds ...  First in order to get the detail we want then we will need to subdivide to a level of detail that we will be using for our normal maps and texture maps. So before dividing you should turn the SMT button off for atleast the first 2 or 3 subdivides. After that point you can start sculpting ... using the dam standard brush cut in some folds and wrinkles, remember we will fit this to our model again and any time you alter a mesh it will need to be adjusted to your avatar shape ...  Also there are some great custom fabric brushes made by person called Selwy eaither serach for selwy brushes or well here is the link also for cut and paste, you may want to go through the tutorials ... you can never get to much reference, and education this person is a very good digital sculptor I have been using these brushes a few years in Zbrush.
http://www.selwy.com/2009/zbrush-clothes-tutorial/


Here  is a look at the top  / bra after doing a little quick sculpting for wrinkles folds ... even latex will fold and wrinkle as well cloths will have different folds and wrinkles depending on the type of cloth, whether it is a heavy canvas or denim or a light and delicate lace or silk or satin ....
 
  Now the material here in zbrush will only matter if you do a matcap bake with the zbrush matcap baker plugin. If not then only the texture color and paint will matter, and also the polys that are causing lines will be smoothed after we are in blender again. As well you can smooth normals before we export the normals maps that we will use. Our whole purpose in zbrush is that we have some great tools to polypaint with and as well texture and in the end the only version that blender will see of the model is the low poly version ... See the normal maps and texture maps are the ones that will have all the details, not the model itself. So for the next post I will finish up with my maps and then we will go back to Blender once again to finish this project.

Sunday, December 1, 2013

Second Life Mesh Design of Clothing Using Avastar, Blender and Zbrush

 Well hello everyone today's blog is getting down to the fun part of second life mesh clothing design. To start I am not doing a tutorial with this blog but rather showing you one of many workflows for creating mesh clothing in second life. Today I am using Zbrush, Avastar and Blender to build with, and this same project I could use other 3d design programs but this is one of the best mesh building pipelines available to create clothing in 3d for second life.   First off a pipeline is the set of programs that are used for creating 3d into a game engine, movie or even as in our case a virtual world. A pipeline can consist of multiple programs and you use them for many different situations as well some of the programs may do the same things though you may use the programs that you like best or suit your situation the best. Most programs used in 3d these days have multiple import and export of many different file types while some can automatically do the importing and exporting others you will need to import and export manually, and in the case of Zbrush, Blender and Avastar currently we will have to do this manually. There is goz and gob in zbrush though I found I am running into issues when using them with Blender , Zbrush and the Avastar plugin/ add on running. As well Zbrush has goz that will send the files to Photoshop for a number of functions and utilities, as well Modo, 3ds Max , Maya, and Cinema 4d though we will not be using these today. So basically though there are some important things that you need to know when using a pipeline that includes zbrush and blender while working on a clothing model for second life.  Above you the model in Blender and Avastar with the cloth mesh bra / mesh top ... Then below is actually how I made the mesh above as you see the head is separate from the avatars upper body ...  As well you can see that the upper body is in quad or four sided polygons rather then 3 sided or Tri's that the head is made of, this was done to make it easy to extrude the bra ... Also I did this using my avatar Elliana Inkpens shape and that way when I was done with the mesh top zbrush it automatically fits the shape I am building it for. I will get into more methods for sizing later but to start this is and easy way to create a template in order to work from. Also I delete one side of the bra and the edge as I only need one side, and also though this is a dense mesh its not overly dense yet I may end up doing some retopology before I skin and texture this piece of second life mesh clothing.


  The reality of this process should be told and that is there hundreds of methods to create clothes and there cannot be said,  to be one and only one correct method. Often you may combine different workflow methods and application / program pipeline configurations to get the job done and the best method is the fastest error free method that you have available or the method that gives you the best results. Zbrush is not a free program so maybe you like 3d coat as it is cheaper ... well then you will use a similar method in 3d coat. In  order to make the upper body template that I used in zbrush ... I save off a copy of my female second life avatar after importing it into Avastar and blender first and after I saved a copy I then went to file/ export and I chose to export my models body  as a .obj file (wavefront file) and saved it. The I opened up Zbrush and I imported the models object file into my zbrush program and I hid the hands, the lower torso as well and deleted the hidden, then I grouped the head and upper body separate and then I split the groups so I had the templates in two different subtools. This made it very simple to then dynamesh the body section and then I used the zremesher guide pen and I  drew the flow of polygons for the topology with symmetry on and I then set the zremesher to adaptive, set my curve strength to 75, set my polygons count to around 5 or 6 K and zremeshed the upper body.   At this point I took a look at it and the topology was not that bad so now at this point I have a template of the upper body in order to make my cloth with !!! 


Seen here this example can now be moved into Blender and Avastar or I can texture a very high poly version, texture the surface , make a normal map and texture map in zbrush as well the UV's  ... But that would be a mistake ... First I want to import this into Avastar as shown in the first picture and make the UV maps for it ... then take it with those back into zbrush as seperate copy ... then the version I have now textured and painted in zbrush I would then project all to hte version that has has UVS previously done ... This project all will be of the texturing and the painting ,,, from there I will now make the texture map and normal map from the copy that I created the uvs for in Blender and export all of it again back to blender.  From there if I have all the graphic appearances correct including the maps and as well deleting the high poly levels ... see now the maps will still work as they are made for the low or high poly version, yet these maps make it so you do not need the high poly version ... Remember some maps from zbrush may need to be flipped before uploading or exporting to both Blender or to second life ...  Yes we are now ready to avastar to rig and weight this version ... Again I am giving you the work flow this is not a 3d zbrush and Avastar, Blender tutorial.  There are so many ways that a piece of clothing can be made and this is just one method! Most of all have fun ... yes you may get stuck at times ... In this case take a look at tutorials and videos about the process and other workflows for 3d animation, texturing and modeling.